
For photographers with some experience, using a backdrop stand is an essential tool for achieving high-quality and polished images. However, even experienced photographers can face challenges when setting up a backdrop stand for a shoot. To overcome these challenges, consider these professional tips for using a backdrop stand to its full potential. By following these expert tips, you can learn how to properly set up and use a backdrop stand to create impressive and professional-level photographs with ease.
Selecting the Right Backdrop Stand
The first step is picking out the right stand for your needs. You’ll want to consider:
Height – Look for adjustable stands ranging from around 5-10 feet tall. The ability to tweak the height comes in handy for different shoots.
Weight limit – Consider what backdrops you’ll use. Fabric backdrops are lightweight but paper or vinyl ones can be heavier. Check the stand’s specs to make sure it can handle the weight you need.
Portability – If you’ll be traveling with your stand for shoots, opt for a more lightweight collapsible one. But less portable stands tend to be sturdier. Decide what’s more important for your use.
Mounting type – U-mount backdrop stands hook the backdrop on with clasps while pole pockets have vertical poles that slide into sleeves on the backdrop. I prefer pole pockets for easier set up but both work.
Material – Aluminum and steel stands range from budget to high-end. Aluminum is pricier but weighs less than steel.
Getting the Height Right
One key to working with a backdrop stand is dialing in the perfect height. Too low and your subject won’t stand out. Too high and the lighting can get weird.
A good starting point is to set the stand at around 7-8 feet high. You can always tweak up or down from there. Heights in the 6 to 9 foot range tend to work best for full-length portraits.
Check your backdrop height by having the model stand in the desired pose. Make sure their head isn’t awkwardly close to the top of the fabric. A little space above looks more natural.
For headshots, raise the stand up higher to keep the backdrop Completely out of the frame. And go even taller if you’re shooting products instead of people. Play around until the shot looks right through the camera.
Positioning Your Subject
Where you place your subject in relation to the backdrop makes a big difference too. Step back several feet so neither your model or product touches the backdrop, which can create unflattering shadows.
A general rule is to leave a gap of at least 3 times the width of your subject between them and the backdrop. For example, if photographing a person, leave a space equal to about 3 body widths. This prevents shadows and helps separate the subject from the background.
Moving your subject forward and backward impacts the ambiance too. More space creates a shallow, out-of-focus backdrop while closing the gap amplifies the background details. Choose the look you want by tweaking their distance.
Get Creative with Colored Gels
Here’s a cool lighting trick: Using colored transparent gels on your backdrop creates vibrant, saturated hues. Way more lively than plain backdrops alone!
All you need is a lighting gel sheet kit. These come with colored transparent plastics to tint your backdrop light source. Pick vibrant options like reds, blues and greens based on the mood you want.
Attach the gel sheets directly onto the bulb or flash head with clamps built for high heat. Then aim your light source at the backdrop and marvel at the boost in color! The gels pass their vibrant hue onto the lit backdrop.
Mixing colored gels takes it to the next level. Balance two gelled lights on the backdrop to blend their colors for unique combinations. Just beware gels can cut light intensity so you may need to amp up the power.
Take Lighting to the Next Level
Speaking of lighting, properly illuminating your backdrop is crucial for that pro look. Rather than relying solely on ambient background light, set up dedicated lighting for maximum control.
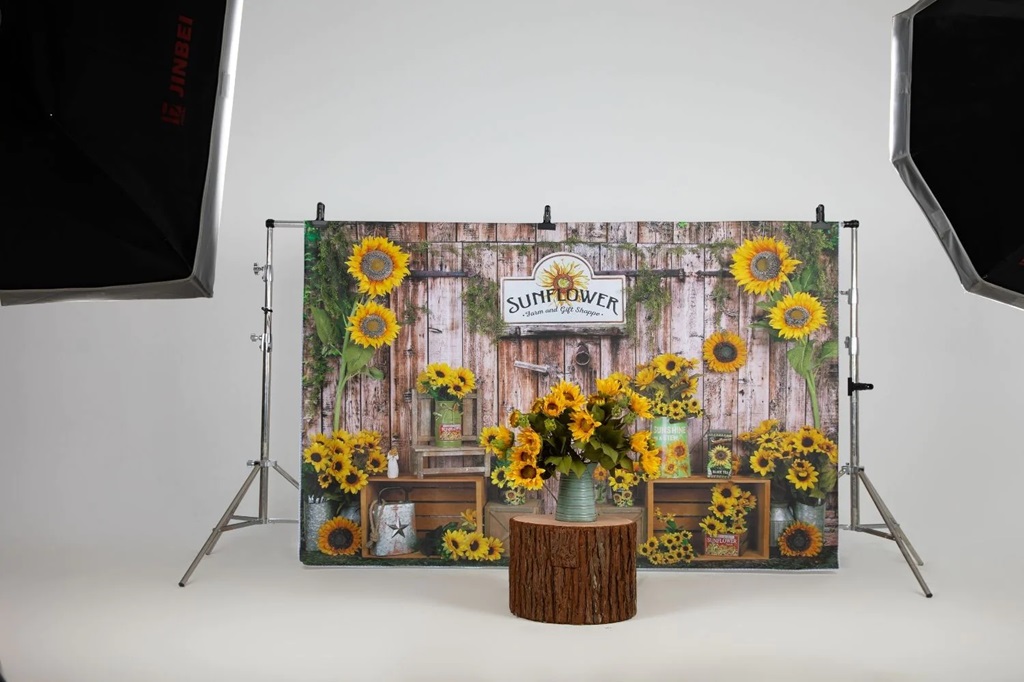
Position two softbox or umbrella lights behind your subject, angled towards the backdrop. Quality backdrop lights are specially designed to mount onto stands for adjustable placement.
Use diffusers and modifiers with the softboxes to soften and spread the light evenly across the entire backdrop. Make sure no harsh shadows are visible.
You can add a hair light too for more separation between your subject and backdrop. Point it at the edges of their hair to create a subtle rim highlighting them.
Bounce Lighting Opens Up New Options
Here’s a simple trick that makes a plain wall into a usable backdrop: Bounce lighting. Rather than lighting the wall directly, aim softboxes at the ceiling or a nearby surface to create a diffuse overall glow.
Bouncing light off surrounding surfaces effectively turns them into a giant softbox flooding the scene with light. Brightening up the entire wall, corner or other background.
The key is positioning your bounce surface at a 45 degree angle to the light. Tweak the angle to adjust intensity – a steeper angle aims more direct light.
Bounce lighting delivers soft, even illumination perfect for impromptu photo backdrops when you didn’t bring a stand. Making the most of the environment around you.
Keep Wrinkles and Creases at Bay
Few things ruin a perfect photo faster than a wrinkly, warped backdrop. Luckily avoiding this photographer’s nightmare is super easy. Just use backdrop clamps or clips to keep your fabric material tightly stretched and wrinkle-free!
Start by securing the top edge of the backdrop with spring clamps, using the loops or pole pockets (depending on backdrop type). Distribute clamps evenly across the top for consistent flat pull.
Next, firmly clamp the bottom corners towards the ground or crossbar to flatten out the fabric. Stretch it slightly past fully taut for a smooth, creaseless look.
If your backdrop still has some visible wrinkles, try lightly steaming or ironing it. Synthetic materials may required fabric relaxer sprays. This relaxes the fibers for a creaseless hang.
Mix and Match Backdrop Solid Colors
Basic backdrop colors like black and white are versatile staples. But combining solid color backdrops opens a world of creative options!
The first step is to line up two same-sized backdrops side-by-side, using a crossbar stand to handle the full length. Clamp both top and bottom edges to keep the seam straight.
Now pose your subject along the color seam for a striking split background. Shift their positioning to highlight one hue over the other.
Or gradually transition between colors by angling the stands away from each other. Creating a distant point where the tones converge can make striking images.
You can also layer complementary solid colors, like red and green, at different depths. Use a shallower DoF to artistically blur one hue over the other. Vivid!
Get Abstract with Textured Materials
Tired of boring flat backdrops? Infuse abstract visual interest by switching to textured materials. Cruz through the fabric store feeling all the options for standout patterns and surfaces.
Lustrous satin backdrops catch the light beautifully for high-contrast tone and shape interplay. Faux furs create striking organic textures for an edgy feel.
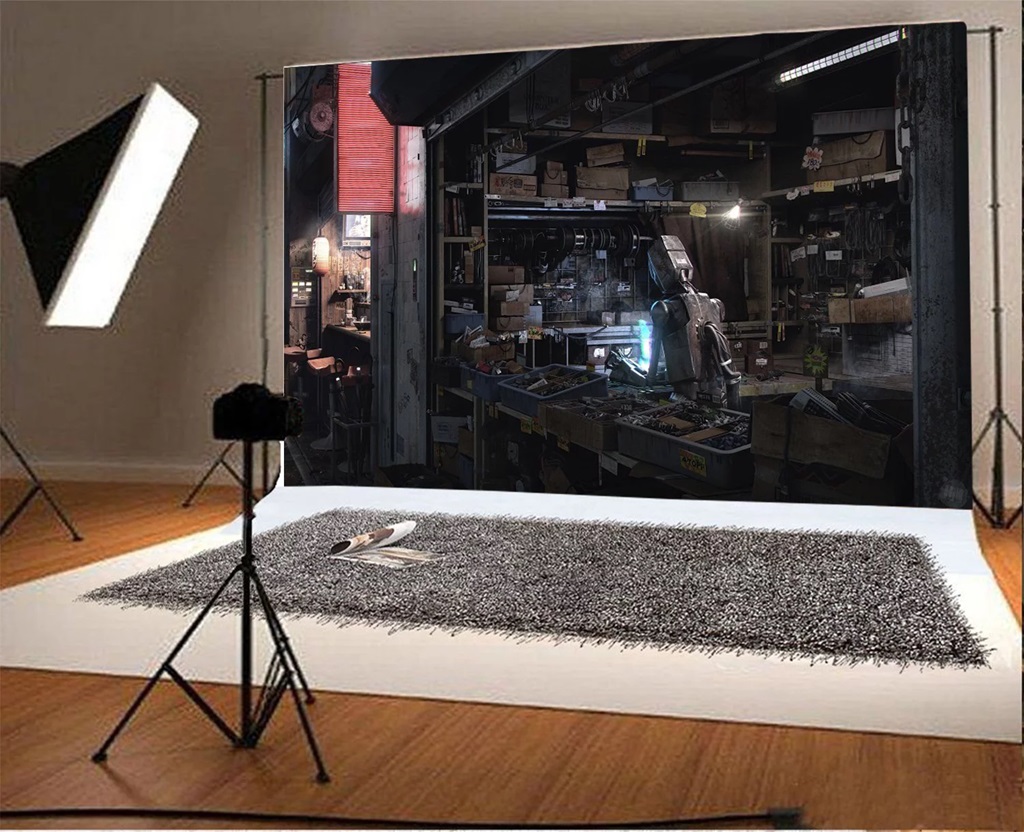
For product photography, place items on the textured surface itself without any stand. Natural woven textures like wood, concrete, stone harmonize with earthy products.
Anything with an uneven surface adds nice dimensionality as the backdrop too. Think wavy fabrics, wrinkled tin foils, crushed papers, mesh nets.
Getting abstract with your backdrops brings out your inner artist. So surface area definitely matters when it comes to scoring killer shots brimming with depth.
Shoot Through Translucent Materials
Sheer backdrop materials like lace offer a lightweight, ethereal look. But trying to light something transparent can be tricky. Here’s how to make it work beautifully.
First, position your model or product a foot or two in front of the translucent backdrop. Providing some separation prevents them from blending together.
Next, set up soft diffused lighting in front angled back towards the backdrop. You need ample front light on your subject, so keep it brightest.
Now place a reflector, flash or LED panel behind the thin backdrop, lighting it from behind. This defines delicate patterns and prevents the material from looking too dark.
Play with boosting or dimming the front vs back lights to strike the right contrast balance. Sheers permit subtle background glow for dreamy ambiance.
Embrace Natural Light
Sunbeams offer a readily available light source that imparts gorgeous, ethereal quality to backdrops with minimal equipment.
Do some golden hour shots as the sun starts to set for fiery sun flare effects against sheer backdrops. Position the sun behind for striking rim lighting silhouettes too.
Seek out spots bathed in mottled sunlight peeking through trees for dappled effects. Diffused window light through voile curtains also beams with luminosity.
Natural light shifts quickly, so move fast if chasing perfect alignments. Scouting locations ahead of time helps you anticipate sweet spots as the light transitions.
Outdoors, avoid direct sunlight which creates harsh contrasts by bouncing sunlight off reflectors instead. Read the lighting environment for vivid, magical backdrops.
Reflectors Are Your Secret Weapon
Speaking of reflectors, keeping one in your photography toolkit is non-negotiable! These circular discs bounce existing light onto your subject from all angles for lighting finesse.
Silver reflectors add crisp, brilliant pop. Gold ones impart gorgeous warm hues. White balances tones neutrally. I always pack all three discs to amplify or adjust light.
Position your reflector opposite your key light source to bounce back light towards your subject. This fills any harsh shadows for smooth, even illumination.
You can also angle the reflector towards your backdrop, using sunlight or external lighting to bathe your entire scene in ambient glow. Exploring reflector angles and distances provides tons of creative lighting options!
Sweep Your Exposures
Nailing exposure against darker backdrops can get tricky. Rather than a single shot, try exposure bracketing to snap multiple options.
Mount your camera on a tripod for consistency. Then use exposure bracketing mode to automatically shoot underexposed, properly exposed and overexposed versions in quick succession.
This captures subtle variations in case your camera’s light meter gets thrown off by the backdrop. Review all your options later to select the correctly lit image.
Manually sweeping exposures works too if your camera lacks auto bracketing. Just steadily increase exposure times while firing off snaps until you’ve covered the spectrum.
It may sound like overkill but bracketing often saves shots that appear wrongly exposed on your camera’s preview screen. I delete the extras later after picking my hero.
Get Creative With Digital Backdrops
Who says your backdrop has to be physical? Add digital magic through layered backgrounds in post-processing. This opens unlimited options with the right editing software.
Most programs feature built-in tools like gradient map adjustments to quickly tweak the entire backdrop color scheme with a click. Pop in any creative hue combo imagined!
Overlay textures like grunge or watercolors onto your backdrop for visually striking effects. Add layered paper textures for scrapbook warmth. The possibilities are endless for digitally enhancing your backdrops during editing.
Take it up a notch by compositing in entirely new backgrounds behind your perfectly lit subject. Go from a mundane location to otherworldly alien planets using magical editing tricks!
Frame Shots Artfully
Even with a flawless backdrop and subject, awkward composition can sabotage the end results. Don’t neglect judiciously framing your images during the shoot.
Tight shots against backdrops often look most striking. Fill most of the frame with your subject while keeping just a sliver of the background edges visible.
Wide landscape orientation is great for environmental shots with sprawling backdrops. But experiment with vertical and square formats too. Changing orientation dramatically impacts framing.
Watch out for clutter distracting from your subject, like visible backdrop stands or peripherals in-frame. Tweak positioning until the backdrop complements your focal point.
Refining framing flows as you review images and adjust accordingly. Minor tweaks make a major difference between snapshot and sensational!
Scout Locations Thoroughly
If shooting on location, thoroughly scout your backdrop spot ahead of time. Vet options for positioning versatility and creative possibilities.
Consider lighting angles at different times of day. How do structures and objects cast shadows? Where will you bounce or diffuse natural light?
Look for leading lines that draw the eye towards your subjects against the backdrop. Repeating patterns and symmetry also strengthen compositions.
Check for power outlets positioning if using artificial lighting. And pick spots away from crowds or moving objects that may photobomb in the busy background.
Even when using backdrop stands, assessing on-location nuances gets you primed with ideas when you return fully equipped. Do your homework!
Ready Your Gear
Prepping your camera gear helps shoots run smoothly so things don’t go awry mid-shoot! Nothing worse than losing shots or momentum due to technical hiccups.
Pack backup batteries and memory cards so running out of juice doesn’t cut sessions short. External battery packs work in a pinch for extended shooting.
Clean your lenses so backdrop details don’t get ruined by dust spots and smears in images. Microfiber cloths easily remove grime between locations.
If shooting tethered, secure cables along stands using clips or gaffer’s tape. Catching a stray cord could damage equipment or cause injury! Prevent Irish pennant situations ahead of time.
Having backup gear options accounts for potential failures too. Be ready to roll with the unexpected punches location shooting may present!
Style Your Setting
A backdrop isn’t complete without the right props or wardrobe elements to tie together visually striking images. Take some time to style your set for enhanced ambiance.
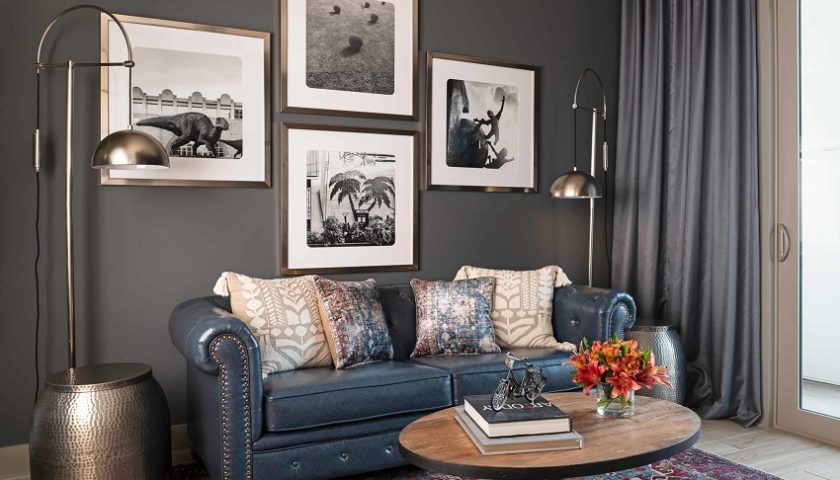
Add practical lighting like strings of bulb lights along the floor to amplify illumination creatively. Glowing lanterns also impart cozy warmth against darker backdrops.
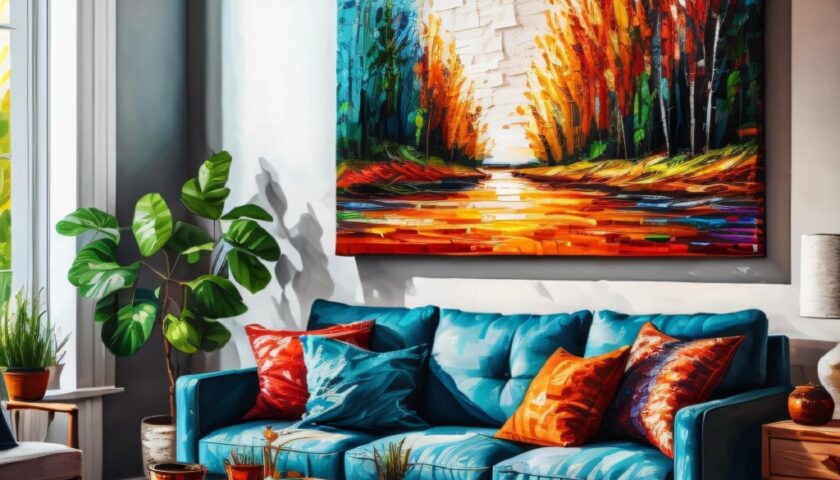
Natural elements like foliage, flowers or wood instantly enhance organic texture and colors. Fabric drapes interplay with flowing gowns gracefully.
Matching subject hues with backdrops creates beautiful cohesion, like red outfits against red brick alleys. Contrasting colors really make subjects pop too.
Final styling touches might include steamers to remove backdrop wrinkles, or lint rollers to tidy up stray fibers or pet hair. Sweat the small stuff for sensational shots!
Enhance With Post-Production
After nailing photography fundamentals like solid lighting and crisp focus, post-processing adds the culminating finesse. This takes images from great to extraordinary!
Correct minor blemishes in fabric backdrops using the clone stamp tool to sample and replace background imperfections with clean areas.
Tweak backdrop colors, contrast and mood using gradient maps for color grading and split toning adjustments. This dials in the exact tone and style desired.
Brush subtle vignettes onto backdrop edges, gradually darkening the background to make subjects stand out even more prominently against softly focused edges.
And as mentioned earlier, integrating entirely new digital backdrops opens wild creative possibilities! Fantastical settings are just a few clicks away for spectacular images.
The Final Shot Starts With Planning
As you can see, elevating basic backdrop shots into gallery-worthy art is very doable with the right approach. Sidestep common pitfalls through careful planning and scene-setting.
Analyze lighting challenges and opportunities beforehand since this strongly impacts backdrop results. Factor in stability, height, subject framing and other core fundamentals during shoots too.
Lastly, attend to all those subtle details that separate average from awe-inspiring when it comes to post-production polish. Master these key tips and your photography will instantly level up!
Now grab your camera and backdrop stand to start snapping eye-catching images like a pro. Let your creative vision shine!
FAQs
What accessories do I need for working with a backdrop stand?
Useful accessories include backdrops like fabrics, papers or vinyl in your desired colors, gels/filters to change lighting hues, reflectors and diffusers to manipulate natural light, sandbags for stability, backdrop clamps and clips to smooth wrinkles, and props for accenting your shots.
What height should my backdrop stand be?
A good starting point is adjusting the stand to around 7-8 feet high. For full body shots, heights from 6-9 feet usually work well to keep the backdrop nicely out of frame. For tighter headshots go much taller. Play with heights until you achieve optimal framing.
How do I prevent shadows on my backdrop?
To avoid shadows on the backdrop from your subject or equipment, position your key light source(s) behind the subject angled towards the backdrop. Use diffusers and reflectors to evenly fill shadows. Adding back or hair lights behind the subject creates separation too.
Can I use textured walls/surfaces as backdrops?
Yes, textured surfaces make fantastic backdrops! Turn any textured wall/corner into an impromptu backdrop by bouncing and filling light evenly across the entire surface. Natural wood, brick and concrete lend organic ambiance while fabrics create striking textures.
How do I fix ripples and creases in my backdrop?
Keep fabric backdrops taut by firmly clamping/securing the top and bottom edges to the stand or mounting poles using spring clamps. Stretch it very smooth to avoid sagging in the middle. For stubborn creases, use an iron or fabric relaxer spray to relax the fibers.
Last Words
Mastering backdrop stands may sound complex but really just requires grasping some key tips for lighting, positioning, styling and framing. When it comes to decorating a small room on a budget, approach it like a skilled photographer preparing for a shoot: prep your gear, analyze the room’s strengths, sculpt flattering illumination, perfect your framing, and then artfully polish the details. By attending to these fundamentals, you’ll transform basic spaces into striking havens, capturing captivating images that exude a professional polish. So, grab your decorating ‘stand’ and start transforming your small space into a budget-friendly masterpiece!