
Origami boats are great for both fun and practical reasons. They’re easy to fold, easy to make, and easy to pack away when not in use. They’re also a great way to learn some basic origami techniques.
If you’re looking for a fun and unique gift for a friend or family member this holiday season, then you’ve found the right post. Today I’ll walk you through how to make an origami boat.
Things you need How to make an origami boat
-Origami paper
-Flexible tape measure
-Ruler or a straight edge
-Penny or a small coin
-Scissors
-Thread
How to make an origami boat step:
Origami boats are a great way to teach your kids about the importance of water. It’s also a fun way for them to learn about how to fold paper.
Start with a square:
You’ll want to start with a square, and then work your way up to making the boat. This will help you get used to working with paper.
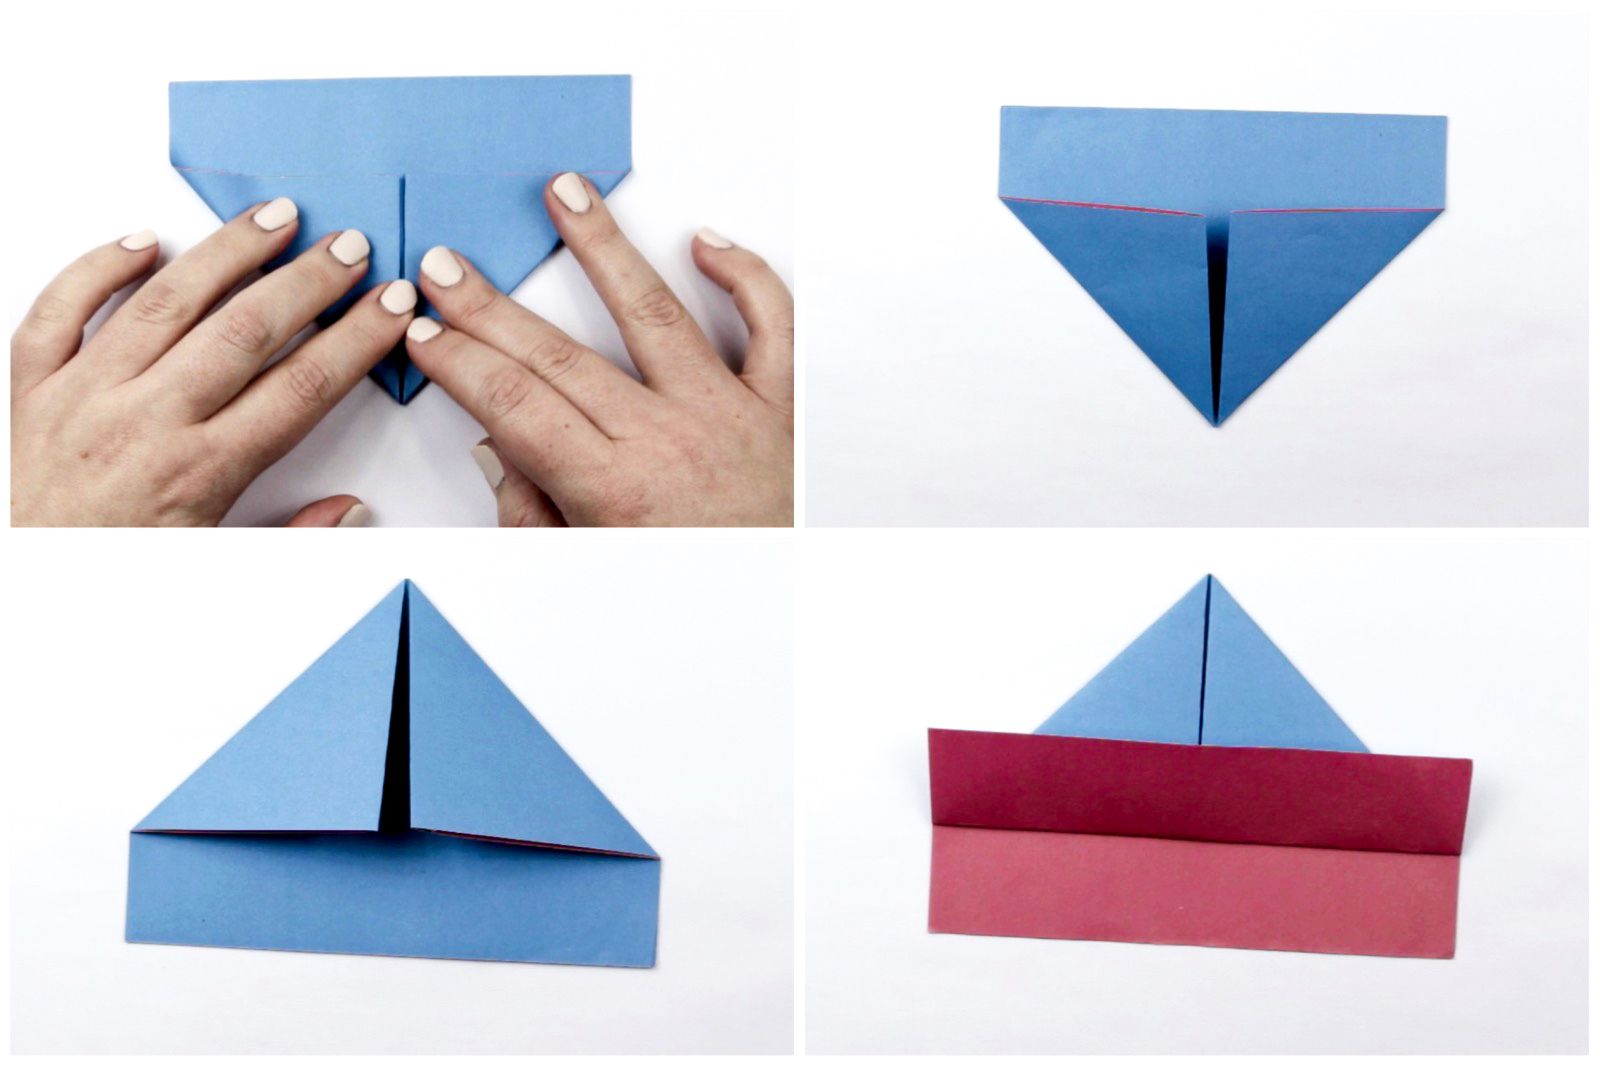
Fold the paper:
Once you’ve got your square, you’ll need to fold it. You’ll want to make sure you follow the steps correctly.
Add more details:
Once you’ve folded the paper, it’s time to add more details to the boat. You can use the same technique you used to fold the paper.
Make sure it’s perfect:
Once you’ve added all the details you need, you’ll want to make sure the origami boat is perfect. You can use a piece of tape or a marker to make sure it’s perfect.
Use it:
Once you’ve finished making the origami boat, you can use it. You can hang it in your home, or you can use it as a decoration.
Learn more about how to make a heart out of a gum wrapper on girlydaily.com
How to make a triangular sail paper boat
- The triangle sail paper boat is a classic paper craft. It’s fun to make, and it’s also an easy project to do with your kids.
- The triangular sail paper boat is a classic paper craft. It’s fun to make, and it’s also an easy project to do with your kids.
- Get started: You’ll need some paper, and you’ll also need a piece of tape. Tape the paper to a piece of cardboard or foam board.
- Cut out the triangles: Once you’ve taped the paper, it’s time to cut out the triangles. You can use a ruler and a pair of scissors.
- Make the triangles: Once you’ve cut out the triangles, it’s time to fold them in half. You can use a ruler and a pair of scissors to help you fold them.
- Add the sails: Once you’ve folded your triangles, it’s time to add your sails. You can use a ruler and a pair of scissors to help you make them.
- Fold the boat: Once you’ve added the sails, it’s time to fold your boat. You can use a ruler and a pair of scissors to help you fold it.
- Let it dry: Once you’ve folded your boat, it’s time to let it dry. You can use a hair dryer or a fan to speed up the drying process.
- Make it float: Once your paper boat has dried, it’s time to make it float. You can use a pencil or some string to hold it in the air.
- Enjoy: Once you’ve made your paper boat, it’s time to enjoy it. You can hang it up on the wall, or place it in a frame.
Conclusion
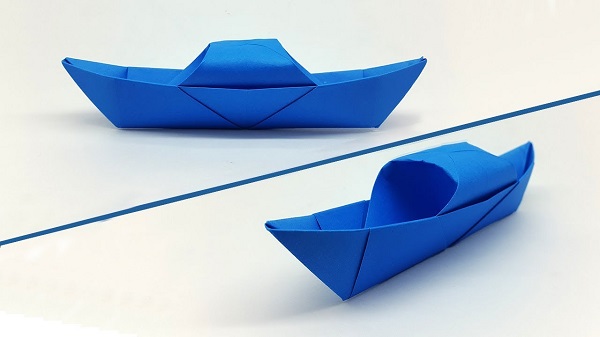
Origami boats can be a fun and easy project to create. This origami boat tutorial will show you how to make a simple origami boat that can be completed in just a few steps. Once you learn how to make this boat, you can create any type of origami boat that you want.