
Covering an area with stones offers a multitude of benefits – from enhancing aesthetics to providing practical solutions for landscaping, drainage, and weed control. Whether you’re a seasoned gardener or a DIY enthusiast, this comprehensive guide will walk you through the entire process, offering valuable insights and tips to ensure a successful and lasting outcome.
Understanding the Purpose and Benefits
Before diving into the how-to, it’s crucial to define your purpose:
- Aesthetics: Stones can create beautiful pathways, patios, borders, or decorative accents. The variety of colors, textures, and sizes allows for endless creative possibilities.
- Functionality: Stones can prevent soil erosion, improve drainage, suppress weeds, and even create heat sinks for specific plants.
Types of Stones for Ground Cover
Selecting the right stone type is essential:
- Pea Gravel: Small, rounded stones, ideal for pathways and as a top layer for drainage.
- River Rock: Smooth, larger stones, great for creating natural-looking landscapes and dry creek beds.
- Decomposed Granite: A mix of crushed granite and fine particles, perfect for pathways and as a stabilizing base.
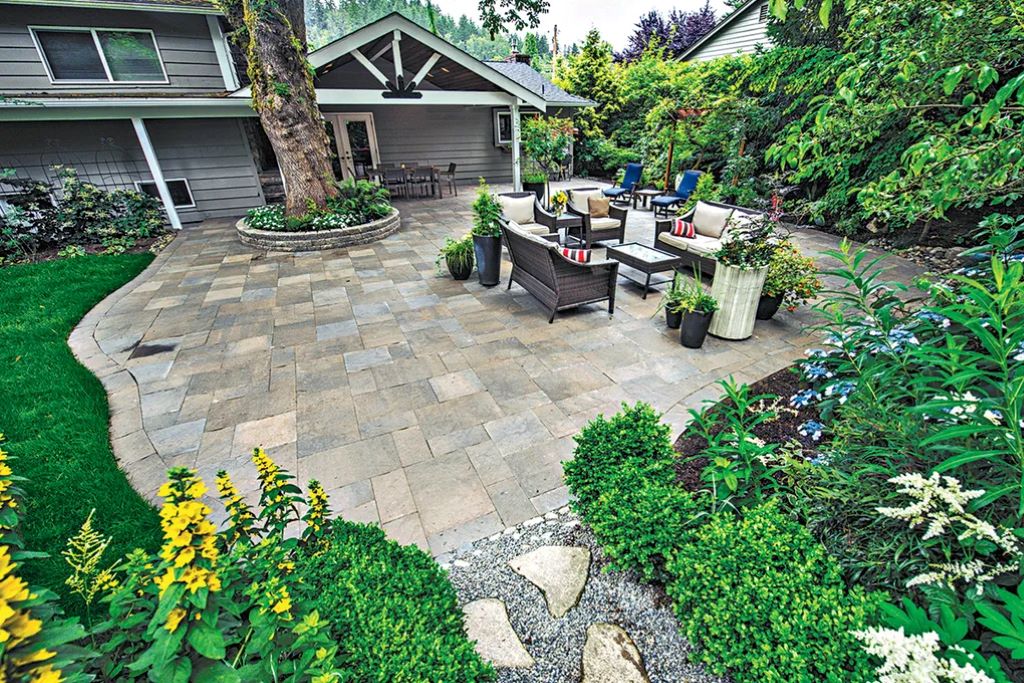
- Flagstone: Flat, irregular stones used for patios, walkways, and stepping stones.
- Lava Rock: Porous, lightweight stones often used for mulch, particularly in arid climates.
Related: Ideas to decorate your roof garden
Preparing the Area
Proper preparation is key to a long-lasting stone cover:
- Clear the Area: Remove existing vegetation, debris, and any large rocks.
- Level the Ground: Ensure the area is relatively even. Depending on the project, you might need to add or remove soil.
- Edging: Install edging (metal, plastic, or stone) to define the boundaries of the stone cover and prevent it from spreading.
- Landscape Fabric (Optional): Laying down landscape fabric is a crucial step in garden maintenance and landscaping projects. It not only helps suppress weed growth but also prevents the stones, such as gravel or shingle, from sinking into the soil over time.
For more information on the use of gravel or shingle stone in landscaping, visit https://thinkdifferentnetwork.com/gravel-and-shingle-stone/.
Installing the Stones
Now, for the main event:
- Base Layer (If Necessary): For areas with high traffic or where stability is crucial (e.g., driveways), consider adding a layer of crushed stone or gravel as a base. Compact this layer before adding the decorative stones.
- Stone Distribution: Spread the stones evenly across the area, working from the center outwards. Use a rake or shovel to distribute them.
- Depth: Aim for a depth of 2-3 inches for most decorative stones. Adjust the depth for specific purposes (e.g., deeper for drainage).
- Compacting: Gently tamp down the stones to create a level surface. A plate compactor can be used for larger areas.
Maintenance
To keep your stone cover looking its best:
- Weed Control: Regularly pull out any weeds that manage to grow through the stones.
- Raking: Rake the stones occasionally to maintain an even surface and remove debris.
- Top-Up: Over time, you may need to add more stones to replenish areas where they’ve settled or been displaced.
Additional Tips
- Color Coordination: Choose stone colors that complement your house, surrounding landscape, or specific plants.
- Drainage: Ensure your stone cover slopes slightly away from structures to facilitate water runoff.
- Safety: Be mindful of trip hazards, especially with uneven stones. Consider using smoother stones for areas with high foot traffic.
Conclusion
Covering an area with stones is a rewarding project that can significantly enhance your outdoor space. By understanding the different types of stones, proper preparation, and installation techniques, you can create a beautiful, functional, and long-lasting stone cover that adds value and enjoyment to your property.