Looks like your stubborn drain has finally given way. It’s been draining slowly for a while now, but things have gotten worse. Gunk is bubbling up, and your morning shower is starting to resemble a swamp. It’s time to do something about it. I understand that you may not want to tackle drain removal and replacement, but I strongly suggest that you call a plumber. However, if you want to do it yourself, I’m happy to guide you through how to remove tub drain. Just keep in mind that dealing with sinkholes can be unpredictable – you never know what you might find!
Do I Have to Remove the Entire Drain?
Straight to the tough questions! Anxious to avoid unnecessary work? Can’t say I blame you.
Let me put it this way: Trying to get away with a simple drain cleaning rather than full removal is like rearranging lawn chairs on the Titanic. Sure, the top deck might look ok for a few more minutes. But the damage below the deck is spreading fast.
Could you muscle through a surface-level drain cleaning? Maybe. Will it come back to bite you? Almost certainly. Mold and mildew are nothing to mess around with – that stuff’ll keep growing no matter how much Liquid Plumr you dump down there!
When gunk starts bubbling up like chocolate lava, consider the drain a lost cause. The only long-term fix is full removal and replacement. No cutting corners! But on the bright side – you’ll get to play with power tools. That’s kinda fun, right?
Gather Your Arsenal of Tools
You didn’t think you could remove a drain with your exceptional good looks alone, did you? Well, I’m sure they’ll help – but let’s plan for the worst and hope for the best.
Here’s what you’ll need to go into tub drain battle prepared:
Screwdrivers
You know ‘em, you love ‘em. Make sure to have Phillips and flathead screw drivers in multiple sizes. Drain kits often use weird sized screws – it’s always better to have an array of options rather than desperately trying to make the wrong size work.
Adjustable Wrench
Probably won’t need this, but it can save the day if you run into any unexpectedly stubborn bolts or fittings. This multi-purpose tool is clutch!
Basin Wrench
The basin wrench is your new best friend. Its funky jaw shape lets you grab onto the strainer body nut – even in cramped spots around the drain rim that are hard to reach. Don’t even think about doing this without one!
Plumber’s Putty
Once your shiny new drain is installed, you’ll seal it up with waterproof putty. Don’t jump ahead though! Slow down, we’re not there yet.
Bucket
Ever go fishing as a kid and use an upside-down bucket as a stool? Just me? We’re putting that bucket to work again to prop your feet up so it’s easier to get under the drain.
Goggles & Work Gloves
This ain’t your average DIY beauty project! Things might get messy dealing with surprise gunk and rusty metal pieces. Let your PPE take one for the team.
Getting Started with Removal
The first step is always the scariest, isn’t it? Just remember: measure twice, cut once. Er, I mean – carefully loosen twice, pry aggressively once. Yeah, something like that.
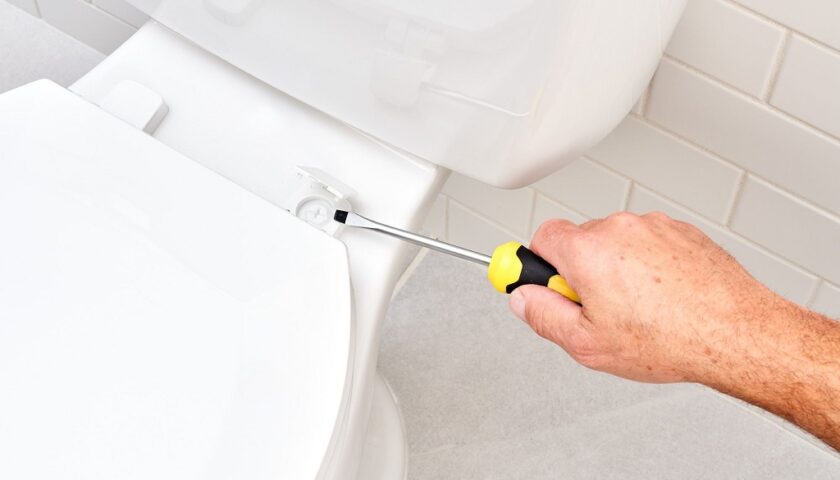
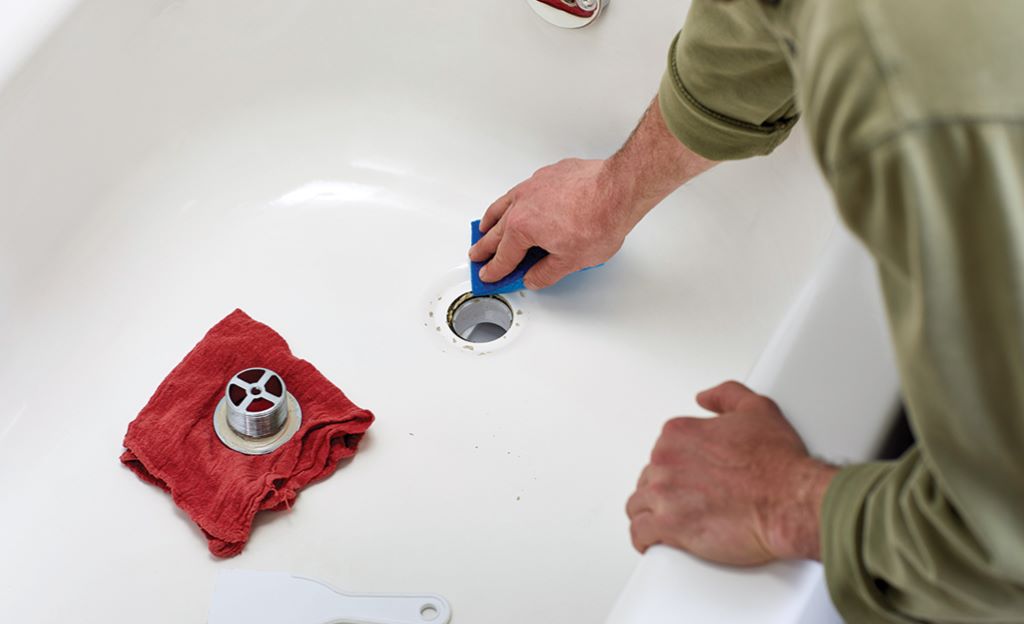
Pop that bucket down on the floor of the tub and use it to get comfy. Luckily, this grimy job is easily done lying down! Unscrew and remove the decorative drain cover first, exposing the clamping drain rim and strainer body underneath.
Take Aim at the Strainer Body Nut
The strainer body nut is your arch nemesis – the final boss, if you will. Wrapped tightly around the drain rim and keeping everything locked down securely, this tricky nut has likely been in place for years. And now you’ve got to crack Fort Knox. Have patience, padawan learner.
Armed with your trusty basin wrench, loosen this stubborn nut slowly and carefully. Just remember there’s nothing but gross sludge beneath, waiting for a chance to escape! As my uncle Sal always said: “Righty tighty, lefty loose-GAAAHHHH!!!” What can I say, Uncle Sal usually learned things the hard way too.
With the strainer body nut finally loosened, you can lift and remove the entire drain strainer body as one piece. Almost there!
Removing the Stubborn Drain Tailpiece
Like a bad penny, the tailpiece just keeps showing up. This slim pipe curves down from the strainer into the drain trap lurking deep below.
Getting a grip on it is the tough part thanks to its awkward shape. I suggest channeling your inner cowboy to lasso that puppy with a rag and some good ol’ elbow grease. Once you get it wiggling loose, the tailpiece should slide right out.
Watch out for any surprise leaks once that tailpiece pops free! Last line of defense removed, here comes the good stuff…better grab that bucket!
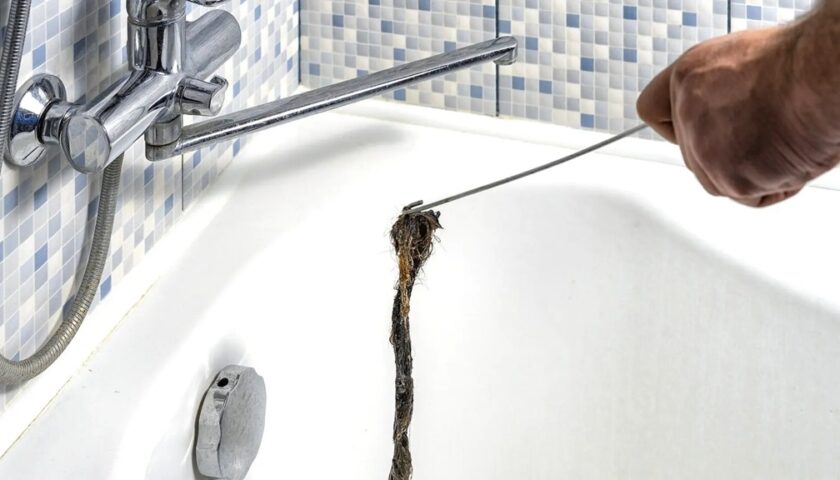
Clearing Out the Gunk
Go ahead, you earned it – take a good look at that nastiness! Pretty gnarly huh? And to think that sludge lurked right below you all those times hopping out of the shower. Tell me again why postponing replacement was a good idea??
Now comes every DIY-er’s favorite part: obliterating the remains of the old drain. All that needs to happen is clearing space for your shiny new replacement.
Let any leftover water drain out first so you’re not trying to muck around up to your elbows in the muck. Remember your handy dandy bucket? Use it to catch pieces you remove so nothing gets flushed down the pipes. That’ll save you a bigger headache later!
To enhance the effectiveness of cleaning a drain with baking soda and vinegar, feel free to embrace your destructive side by smashing old drain pieces with a hammer, prying out remaining chunks by hand, and bending stubborn metal pieces back and forth to extricate every last bit that’ll come loose, ensuring a thorough and efficient drainage system.
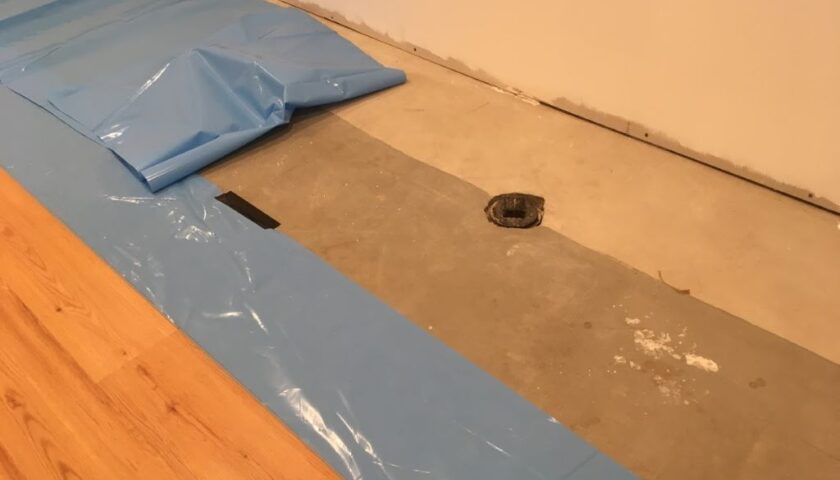
The goal is to clear everything out until you see clean, fresh pipe openings. Those are the fittings you’ll connect your new drain to.
Almost ready for the rebuild!
Installing the New Hotness
Enough about destruction – on to creation! Who’s ready to put shiny new pieces in place? That poor tub went without a functioning drain for so long, it’s begging for relief.
Most kits follow a similar assembly order. Make sure to read the instructions! Yes, I know that’s annoying. Consider it a crash course translating “Ikea furniture gibberish” into useful knowledge.
Here’s the usual process:
- Healthy slathering of plumber’s putty. Squish it around the drain hole in the tub itself, building up depth. This waterproofs and seals the new drain.
- Lock mounting plate in place. The plate gets embedded in that putty, securing everything together below the tub surface.
- Attach drain pipe pieces, sliding new pipes and extensions into the tailpiece. Carefully follow height measurements so drain hookups align properly with tube bottoms.
- Tighten all slip joints with a wrench, sealing pieces together snugly.
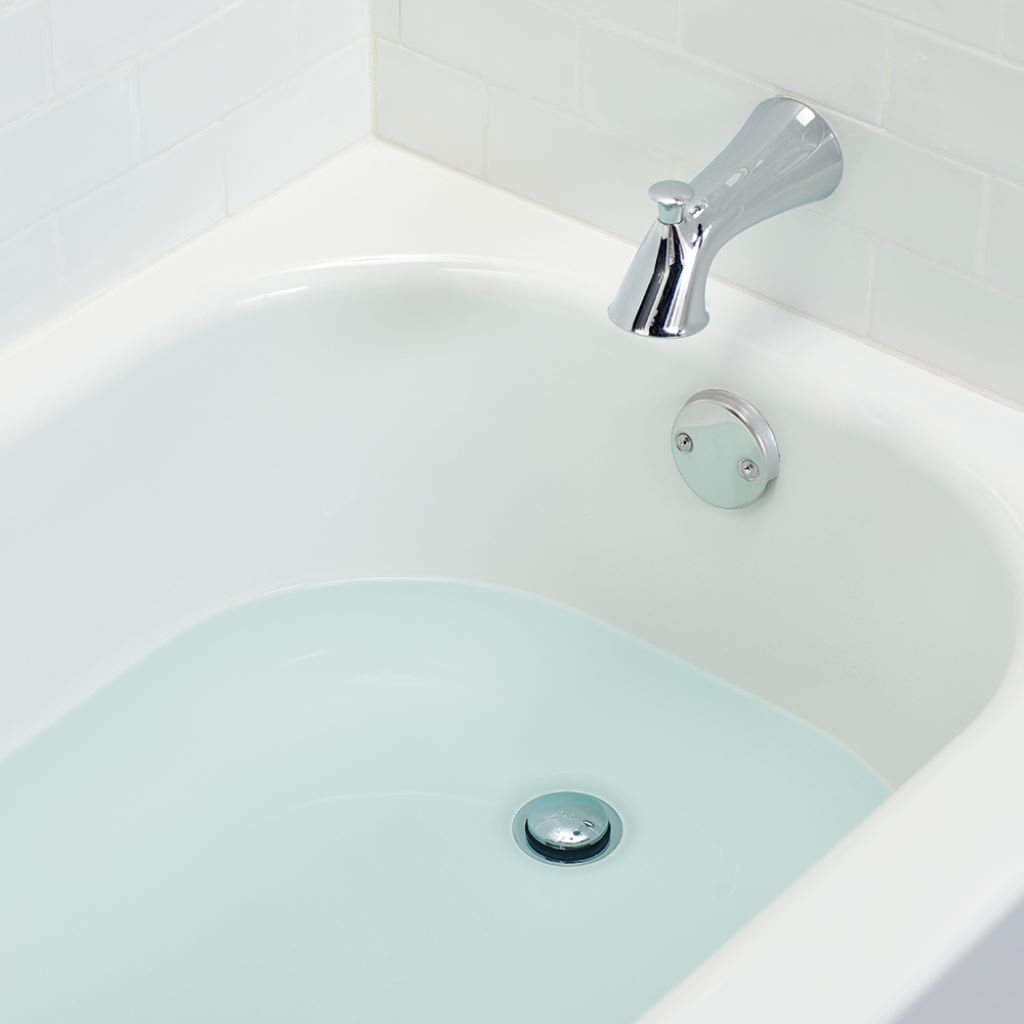
- Attach decorative drain cover and (of course) test for leaks! Then crack open a celebratory beverage of choice. Ya did it!
Don’t Pop the Champagne Yet! Troubleshooting Common Issues
I’d love to cue credits roll after the basic installation steps and call it a day. But what fun is that? Things always go sideways, especially when plumbing’s involved.
Let’s poke holes in the happy ending to cover what might still go wrong:
Tiny Leaks Loitering Below
Uh oh – is that drippity drop I hear? A small leak probably means something wasn’t tightened sufficiently. Maybe slipping pipes or loose drain body connections. Whip that wrench back out stat!
Carefully tighten every fitting and connection one more turn while checking below. That should squash pesky drip monsters.
Gushing Leaks Making a Break For It!
Yikes – if huge amounts of water rapidly escape, you likely have big problems. Shut off the water valves ASAP before flooding gets out of hand!
Drastic leaks mean pieces that don’t fit together at all. You’ll have to start over from scratch with the correct components.
Weird Gurgling Noises Bubbling Up
What’s that bizarre glug sound? The drain seems to function fine, yet angry noises persist!
Don’t panic – the issue is likely lower down the line. Especially if multiple drains/faucets now gurgle too. The new drain hookups are probably ok.
Further down the pipes are clogged vents preventing air pressure from equalizing properly. That needs professional snaking/jetting.
Ongoing Drain Maintenance
I hope nothing but swirling success as that once stagnant water starts flowing freely again! Just keep in mind that drains require regular TLC to uphold that freshness. Neglect at your own risk!
What can you do to keep things cruising smoothly?
- Monthly drain cleaner treatments
- Quick basket strainer removal to inspect & clean the rim
- Vigilance listening for any return of unusual gurgles
Listen, I get that it’s not glamorous caring for the underbelly pipes we rarely see. But stay on top of maintenance before you end up right back here!
Now, are you ready to tackle the bathroom sink next with the guide on how to remove tub drain? Kidding! …Mostly kidding.
FAQs
How do I remove a tub drain without special tools?
To remove a tub drain without specialized tools, you can use common household items like pliers or a screwdriver. First, locate the screw in the center of the drain, unscrew it, and then use pliers to turn the drain counterclockwise. If it’s a push-pull drain, carefully lift and turn it to release.
What is the best way to remove a stuck tub drain?
If your tub drain is stuck, try using a penetrating oil or lubricant to loosen any rust or corrosion. Allow it to sit for a few hours or overnight, and then use a drain removal tool, such as a drain key or pliers, to turn the drain counterclockwise. Applying heat with a hairdryer may also help loosen the drain.
Can I remove a tub drain without damaging the surrounding bathtub surface?
Yes, it’s possible to remove a tub drain without damaging the surrounding surface. To protect the tub, cover it with a cloth or use a rubber pad while using tools. Be cautious not to use excessive force, and if the drain is resistant, consider applying lubricants or penetrating oils to ease removal without causing harm.
What should I do if the crossbars of the tub drain are broken or corroded?
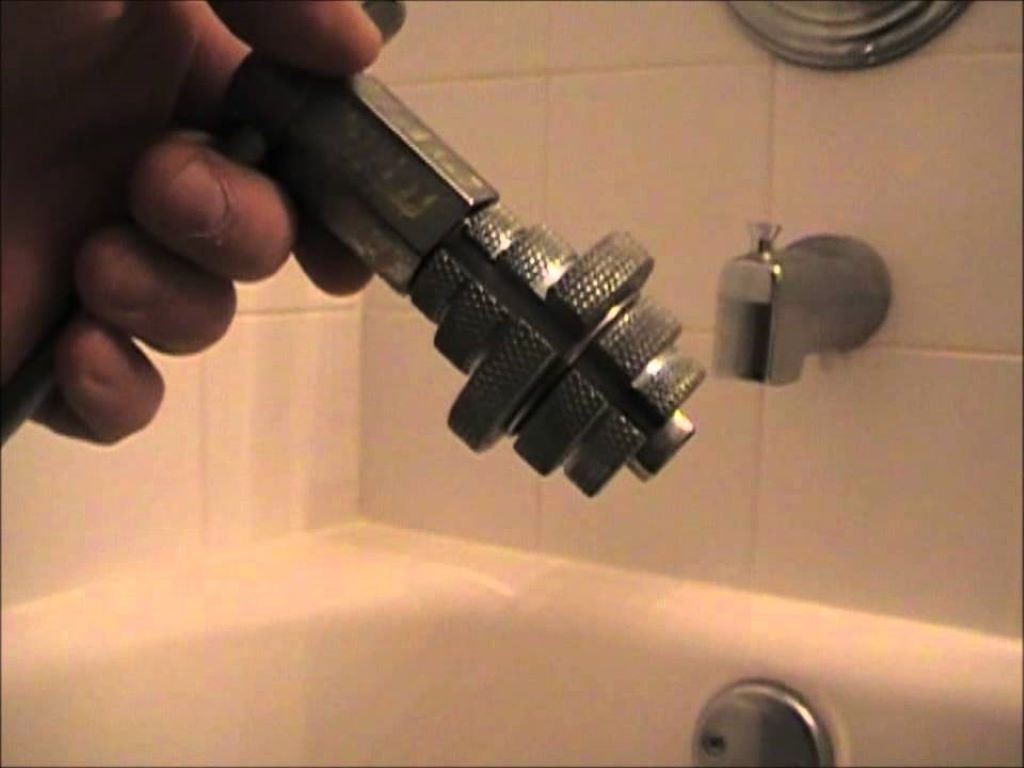
If the crossbars of the tub drain are broken or corroded, you may need to use a specialized tool like a tub drain extractor. This tool is designed to grip the drain from the inside, allowing you to turn and remove it. If the crossbars are severely damaged, you might need to replace the entire drain assembly.
Are there any safety precautions I should take when removing a tub drain?
When removing a tub drain, it’s important to wear safety glasses to protect your eyes from debris. If you’re using penetrating oils or lubricants, make sure the bathroom is well-ventilated. Be cautious with tools, and if you encounter significant resistance, avoid excessive force to prevent damage. If uncertain, consult a professional plumber for assistance.